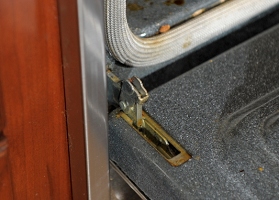
Here is the left side hinge lock pulled up into the unlock position. The entire door can simply be lifted and pulled away now. |
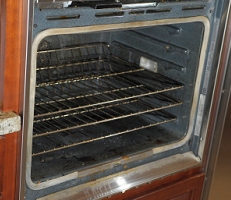
Door is gone. Easier to work on things now. |
Left side trim strip coming off after removing two screws. Have to pull out on the bottom, and lift slightly. |
Next step - the stop shiny aluminum face plate needs to be loosened and swiveled up a bit, so the upper trim plate can be removed. |
The upper face plate is held on with two screws. Here is the left side being removed. The left side is easy, because you can get at the screw. Unfortunately, the right side is kind of blocked by the refrigerator, which means the entire microwave/oven assembly needs to be slid forward about an inch. |

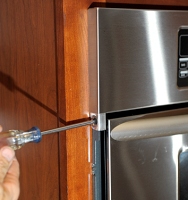
So, to get the whole assembly out, you must remove two screws on each side of the assembly. Here is the lower right side screw coming out. |
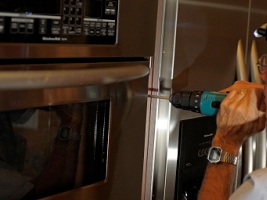
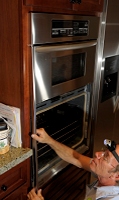
Here is Ron removing the upper side screw. Note: somewhere in here we decided it would be a (very) good idea to cut power to the oven, since we were having to potentially get into high-voltage areas. So we went to the fuse box and cut the breaker to the oven. |

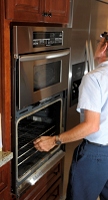
Removing one of the left side screws holding the microwave/oven assembly in place. |
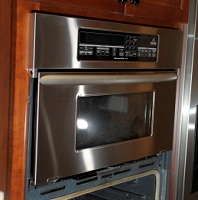
With a mighty pull, the entire unit slides forward about an inch. Now that right side upper face plate screw is accessible. |