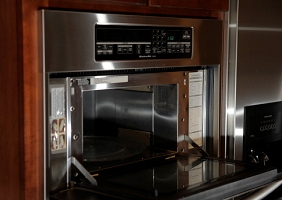
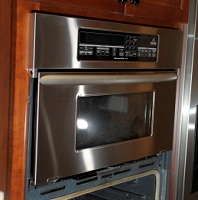
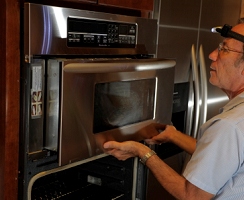
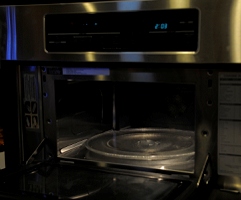
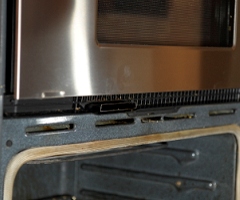
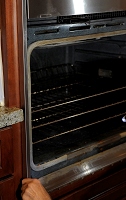
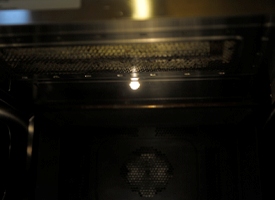
Bad news. The inside is dark... You have to replace the bulb from the top of the microwave, which means it must be slid partway out. There are a lot of screws that have to be removed. |
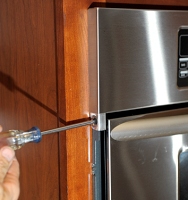
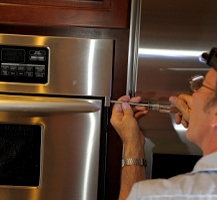
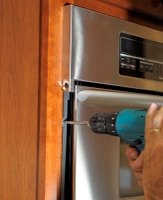
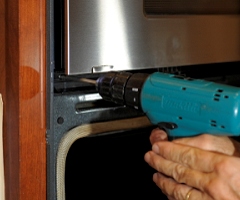
First step - remove 4 screws holding a lower trim panel on. |
Removing another of 4 screws here. |
With 4 screws removed, the lower trim panel comes off. |
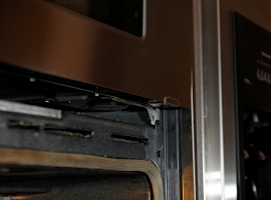
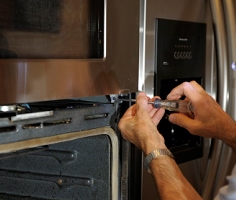
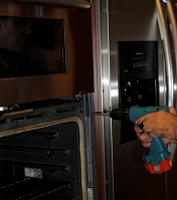
With the lower trim panel off, you can access two screws that hold the microwave in a sliding chassis. The right screw has been removed here. |
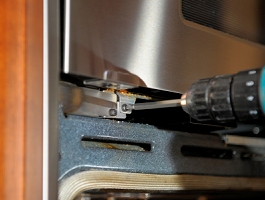
Removing the left screw holding the chassis in place. |
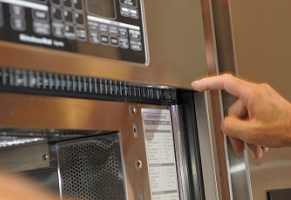
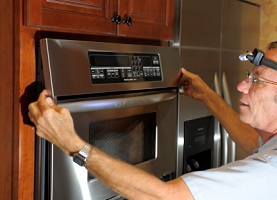
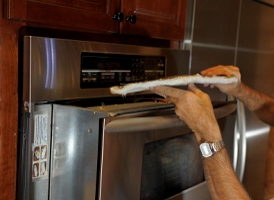
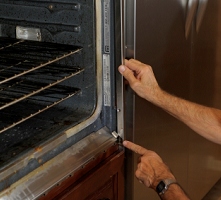
OK - now you have to remove the upper trim panel. Three screws. However, the upper trim panel slides in behind the upper (shiny steel) face plate, so the face plate must be removed. To get the face plate off, you have to remove two steel trim strips on each side of the microwave/oven combo. |
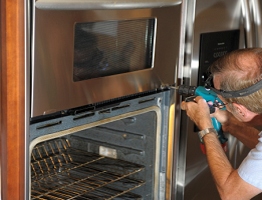
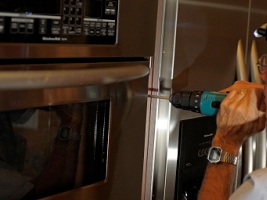
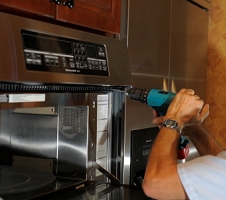
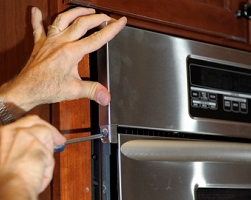
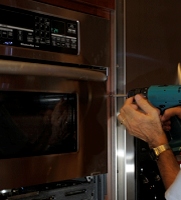
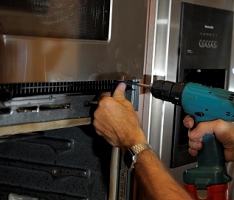
The side trim strips are held in with two screws each. Here Ron is removing the lowermost screw. |
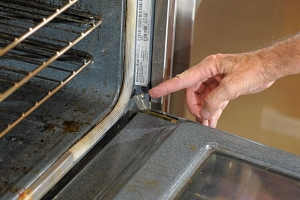
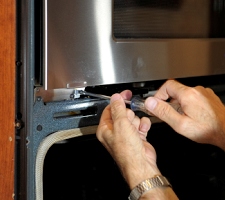
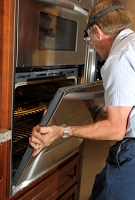
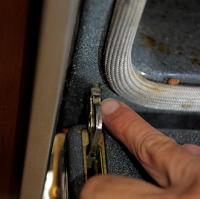
Optional step - it's just easier to work on the assembly if you pull the door off. Fortunately, this step is extremely easy (although the door is heavy). There are catches (?) on the hinges that just need to be pulled up by hand. This one has been pulled up. |
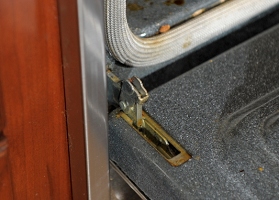
Here is the left side hinge lock pulled up into the unlock position. The entire door can simply be lifted and pulled away now. |
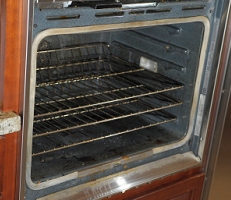
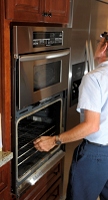
Door is gone. Easier to work on things now. |
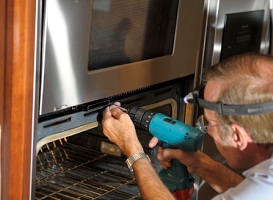
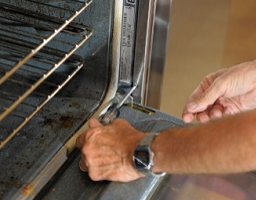
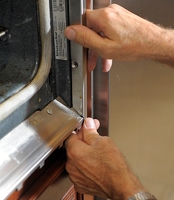
Left side trim strip coming off after removing two screws. Have to pull out on the bottom, and lift slightly. |
Next step - the stop shiny aluminum face plate needs to be loosened and swiveled up a bit, so the upper trim plate can be removed. |
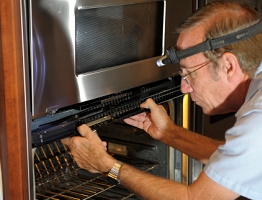
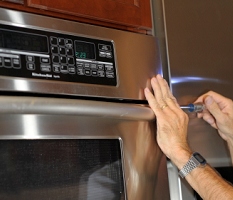
The upper face plate is held on with two screws. Here is the left side being removed. The left side is easy, because you can get at the screw. Unfortunately, the right side is kind of blocked by the refrigerator, which means the entire microwave/oven assembly needs to be slid forward about an inch. |

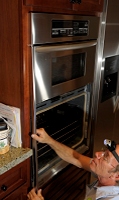
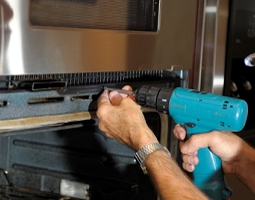
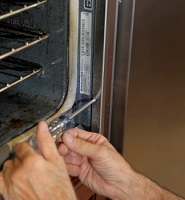
So, to get the whole assembly out, you must remove two screws on each side of the assembly. Here is the lower right side screw coming out. |
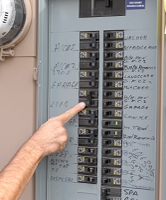
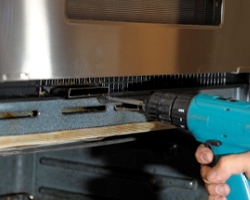
Here is Ron removing the upper side screw. Note: somewhere in here we decided it would be a (very) good idea to cut power to the oven, since we were having to potentially get into high-voltage areas. So we went to the fuse box and cut the breaker to the oven. |

Removing one of the left side screws holding the microwave/oven assembly in place. |
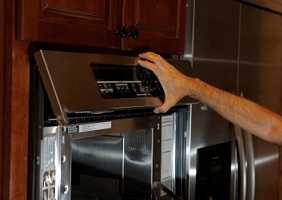
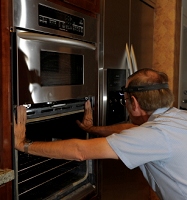
With a mighty pull, the entire unit slides forward about an inch. Now that right side upper face plate screw is accessible. |
And here is the upper right side face plate screw coming out. |
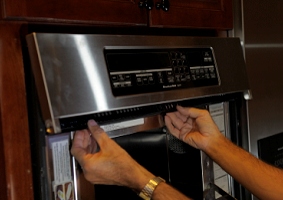
With the two screws removed, the upper face plate swivels up a bit, providing access to the upper trim plate. |
Here is the upper face plate moved out of the way. |
OK, now the upper trim plate can be removed. Three screws. Here is the rightmost screw coming out. |
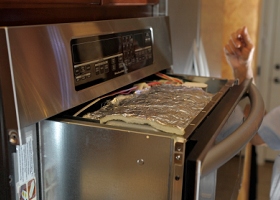
With the upper trim plate carefully removed, the microwave itself is finally free to slide forward, exposing the top. |
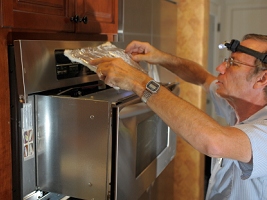
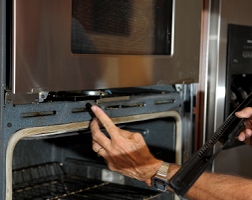
There is a piece of insulation that needs to be removed next. The bulb holder assembly is underneath. |
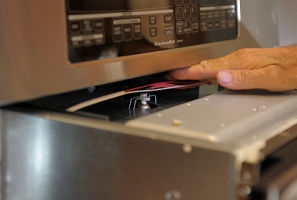
And there it is! The holy grail - access granted to the bulb holder. |
A better view of the holder with the spring clip released on the right side. It pulls up, and the bulb holder comes out. |
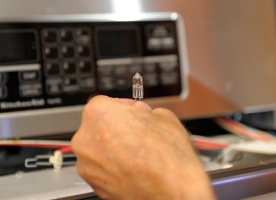
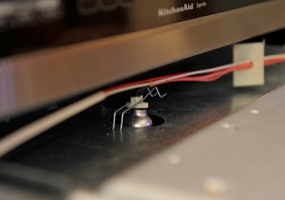
There is the culprit. One dead bulb. 12 volts, 5 watts. We are replacing it with a cheaper 12v, 10 watt bulb from Lowe's. The tech service is charging me $10 for this bulb, but the OEM replacement would have been $35! |
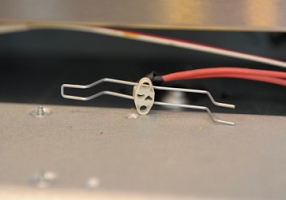
Here is the bulb holder assembly without bulb. |
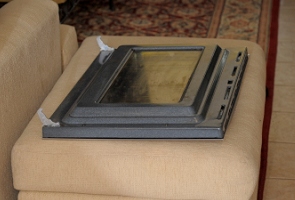
Just a shot of the oven door laying in a safe place through this procedure. |
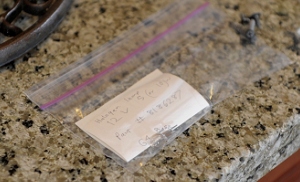
Old bulb and replacement part saved for reference later. Next time I'll get my own bulb and replace it! |

The bulb is halogen, so you should not touch it with your fingers and get oil on it. Here Ron is putting the bulb back in the holder while gripping it with a bit of paper towel. |

Replacement bulb back in place. |
Now the reassembly. Put the insulation back on top, shiny side up. |
Here is the insulation in place. |
Push the microwave back into place. Then carefully slide the upper trim plate under the upper face plate so you can screw it down. |
Now that the microwave wiring bits are safely out of the way, we need to turn the breaker back on and check the bulb. |
Eureka! We have power, we have microwave light! |
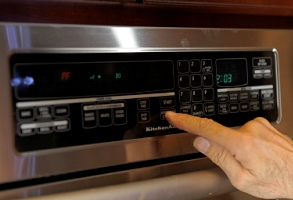
You have to clear an error code that comes up from having power cut to the microwave panel. Just hit the cancel button. |
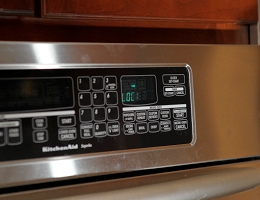
You can't see well from this angle, but the clock needs to be set. It says 'CLOCK'. Ron now set the time. |
Screw in the microwave assembly. |
Right side of the microwave assembly screw. Did I mention that there are different size screws for most of these bits? |
Screw in the left screw of the upper face plate. |
Now the right side screw of the upper face plate. Next the whole microwave/oven assembly can be pushed back into place. |
A mighty push, and everything slides back one inch. |

Fasten the assembly in place with four screws. Here is the lower left screw going in. |
Upper left main assembly screw going in. |
Lower right main assembly screw going in. |
Upper right main assembly screw going in. |
Next, the lower trim plate needs to go back on. There is an exhaust vent here that makes things a bit harder to line up. You have to wiggle the trim plate a little to get it to fit over this vent. |
Trim plate put back in. Now must put in four screws to hold it in place. |
Rightmost screw on lower trim plate going in. |
Second of four screws going in. |
Third of four screws going in. |
Last lower trim plate screw going in on left side. |
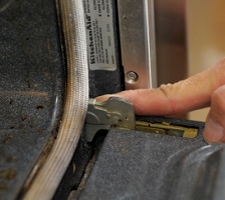
Now the steel side strips need to go back on. Ron points to a small tab that needs to go inside (not visible) the strip. When he took it off, he found that the previous tech had installed the strip incorrectly, with that little tab exposed. |
Here is the side trim strip put correctly back in place. |
One screw holds the bottom of the right side trim strip. It is held at the top by sliding down over another part - no screw up there. |
left side trim strip getting fitted into place. |

Last screw going in, fastening the left side trim strip. |
Replace the oven door. (Easy, though a bit heavy). |
Here is the left side hinge lock in the unlocked position. |

Here is right side hinge lock in the unlocked position. |
Just press the lock forward into the locked position. Here is the right side locked. |
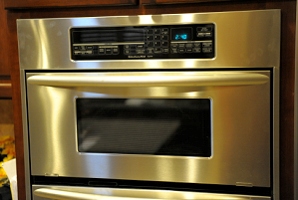
And .... it's back together! |
There it is, in all its bright glory. A $10 Lowe's halogen bulb. Now we can see our popcorn pop. |