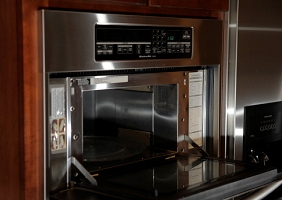
Bad news. The inside is dark... You have to replace the bulb from the top of the microwave, which means it must be slid partway out. There are a lot of screws that have to be removed. |
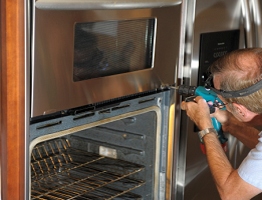
First step - remove 4 screws holding a lower trim panel on. |
Removing another of 4 screws here. |
With 4 screws removed, the lower trim panel comes off. |
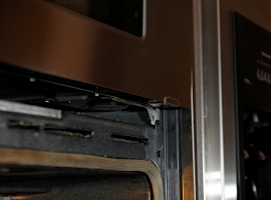
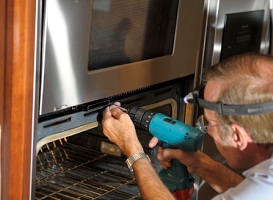
With the lower trim panel off, you can access two screws that hold the microwave in a sliding chassis. The right screw has been removed here. |
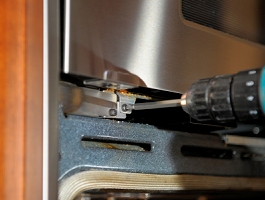
Removing the left screw holding the chassis in place. |
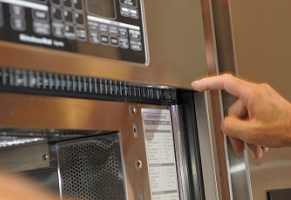
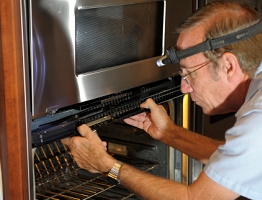
OK - now you have to remove the upper trim panel. Three screws. However, the upper trim panel slides in behind the upper (shiny steel) face plate, so the face plate must be removed. To get the face plate off, you have to remove two steel trim strips on each side of the microwave/oven combo. |
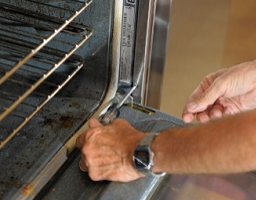
The side trim strips are held in with two screws each. Here Ron is removing the lowermost screw. |
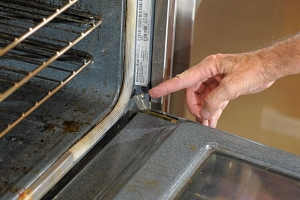
Optional step - it's just easier to work on the assembly if you pull the door off. Fortunately, this step is extremely easy (although the door is heavy). There are catches (?) on the hinges that just need to be pulled up by hand. This one has been pulled up. |